
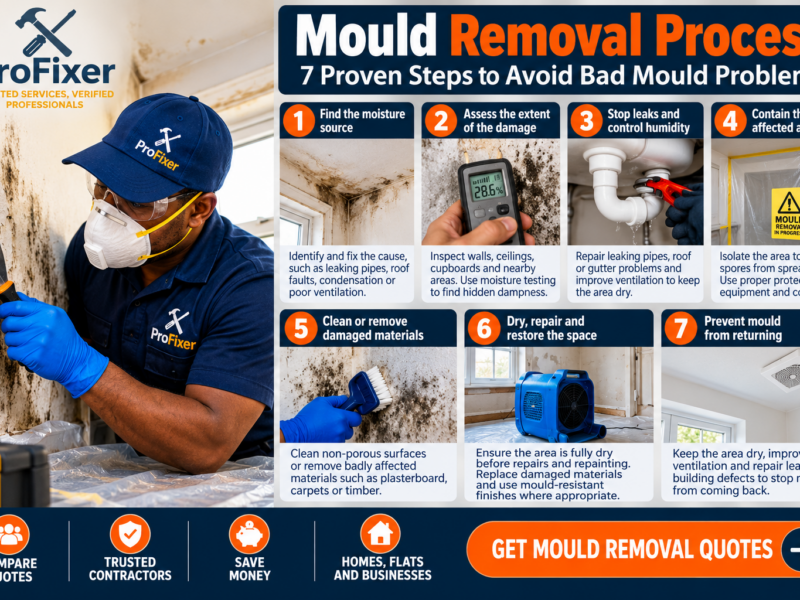
Mould Removal Process: 7 Proven Steps to Avoid Bad Mould Problems
A dark patch behind a cupboard, a musty smell in a bedroom or paint lifting near a ceiling are rarely just cleaning problems. The mould removal process only works when the moisture feeding the growth is dealt with as well. Otherwise, mould can return within weeks – even after a thorough scrub.
For South African homes, flats, rental properties and business premises, dampness can come from leaking pipes, roof faults, poor bathroom ventilation, rising damp or condensation. Coastal humidity can make the issue more persistent, while an unnoticed internal leak can cause trouble anywhere. Acting early protects finishes, furnishings and the people using the space.
Table of Contents
Start by finding the moisture source
A successful mould removal process begins by identifying and stopping the moisture source, because cleaning the visible growth without fixing the underlying damp problem usually leads to recurrence.
Mould is a visible symptom, not usually the root cause. Before cleaning begins, inspect the affected area and the rooms around it for signs of water entry or trapped humidity. A patch beneath a bathroom, kitchen or geyser may point to plumbing. Staining after rain often suggests a roof, wall, window or gutter problem. Mould around windows, behind curtains and inside wardrobes can be caused by condensation and limited air movement.
Ask a contractor to identify the cause rather than simply quote for painting over the mark. In a rental property, record the damage with dated photographs and report it promptly. Landlords and managing agents need a clear picture of whether the problem is maintenance-related, caused by a building defect, or linked to ventilation and occupancy patterns.
Some causes are straightforward. A dripping waste pipe or failed silicone seal can be repaired quickly. Others need a more careful assessment, especially if water has travelled inside a ceiling, wall cavity, cupboard base or timber floor. The visible mould may represent only part of the affected area.
The mould removal process step by step
A proper mould removal process is tailored to the size of the affected area, the building materials involved and the reason moisture is present. A small surface patch in a well-ventilated bathroom is very different from recurring growth across a damp bedroom wall or mould after flooding.
1. Assess the extent of the damage
The first step is to establish how far the problem has spread. A specialist may inspect walls, ceilings, skirting boards, cupboards, carpets and nearby rooms, looking for staining, soft materials, peeling paint and a persistent odour. Moisture testing can help locate damp areas that are not obvious from the surface.
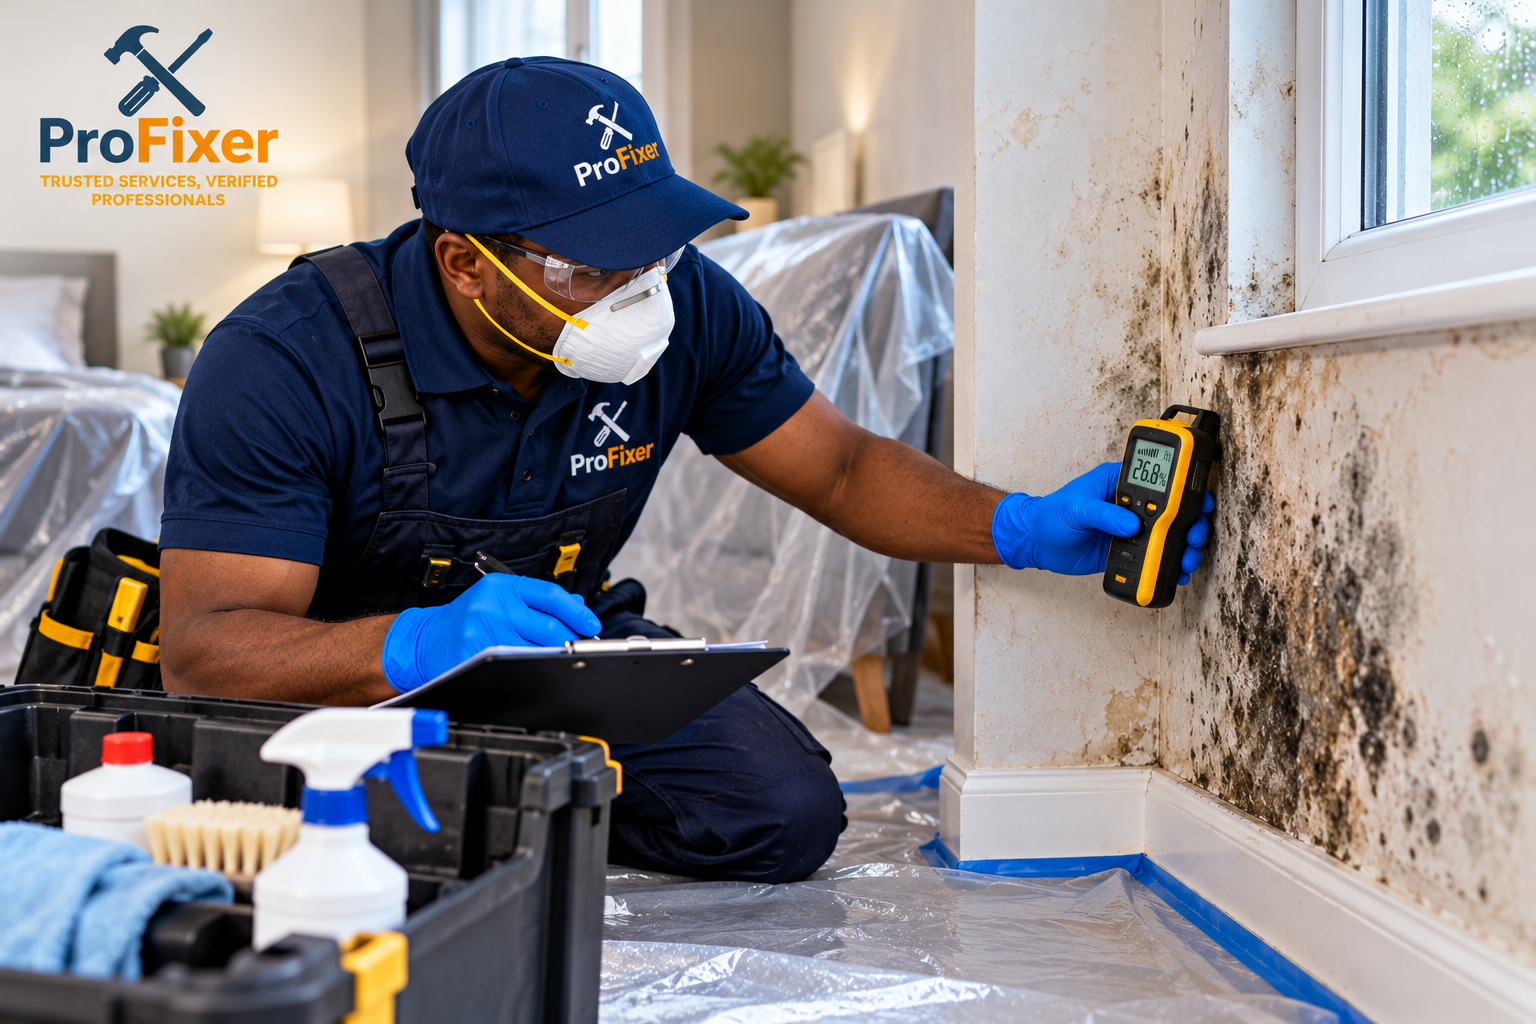
This assessment matters because porous materials absorb water and spores more easily than sealed tiles or glass. Plasterboard, ceiling boards, carpets, insulation, chipboard furniture and damaged timber may need more than surface cleaning. If the material has broken down or stayed wet for an extended period, removal and replacement can be safer and more cost-effective than repeated treatment.
2. Stop leaks and control humidity
The source of moisture must be repaired before restoration starts. This could involve fixing a roof leak, replacing a damaged pipe, resealing a shower, repairing gutters, improving drainage or addressing cracks around windows. In severe cases, drying equipment may be needed to lower moisture levels in walls, floors or ceilings.
Ventilation is also part of the solution. Bathrooms and kitchens need effective extraction or regular airflow, particularly after showering and cooking. Opening windows can help when outdoor conditions allow, but it is not always enough in humid areas. A contractor may recommend extractor fans, ventilation improvements or practical changes such as leaving internal doors open after bathing and keeping wardrobes slightly clear of cold external walls.
3. Contain the affected area
For a larger outbreak or work involving contaminated materials, professionals may isolate the area before removal. This reduces the chance of spores and dust spreading into other rooms during cleaning, demolition or sanding. Furniture may be moved or covered, and the team should use suitable personal protective equipment.
This is one reason it is wise to avoid dry brushing, sanding or scraping a significant mould patch yourself. Those methods can disturb spores and spread contamination. Simply spraying a strong chemical over a large area is not a reliable substitute for controlled removal and drying either.
4. Clean or remove damaged materials
Non-porous surfaces such as tiles, metal, sealed countertops and glass can often be cleaned once the area is dry and the underlying cause has been fixed. The right cleaning method depends on the surface and product instructions. Harsh treatment can damage paint, sealants and finishes, so it should not be used as a one-size-fits-all approach.
Porous or badly affected materials may need to be removed. A contractor can advise whether a ceiling board, carpet underlay, cupboard backing or section of plaster should be replaced. This can increase the upfront cost, but leaving damp, mould-affected material in place often leads to recurring odours, staining and further repair work.
Do not mix cleaning chemicals. In particular, combining bleach with other household products can create dangerous fumes. Keep children, pets and people with respiratory sensitivities away from the work area until it has been properly cleaned and aired.
5. Dry, repair and restore the space
Once mould and damaged materials have been dealt with, the area must be fully dry before repairs are closed up or painted. Rushing this stage can trap moisture behind a new ceiling, fresh plaster or a coat of paint.
Restoration may include replacing boards, replastering, repairing cupboards, fitting new sealant and repainting. Where appropriate, mould-resistant coatings can be useful, but they are a finishing measure rather than a cure for a leak or persistent condensation. The goal is a dry, clean surface and a practical plan to keep it that way.
When can you clean mould yourself?
A small, isolated patch on a hard surface may be manageable if there is no ongoing dampness, no water damage and no strong musty smell. Wear gloves, ventilate the room, follow the product label and dry the surface completely afterwards. Watch the area over the following weeks.
Professional help is the better choice when mould keeps returning, covers a large area, follows a flood or leak, affects ceilings or wall cavities, or has damaged soft furnishings and building materials. It is also sensible to bring in a specialist when occupants have asthma, allergies, weakened immunity or unexplained respiratory irritation. The colour of mould alone does not confirm how serious it is. A black patch should be treated carefully, but the size of the problem, moisture source and condition of the materials are more useful indicators.
Commercial premises need particular care. Mould in offices, shops, schools, accommodation facilities or food-related spaces can affect staff and customers, interrupt operations and create maintenance records that need clear follow-up. A documented inspection, repair scope and restoration plan helps property managers make decisions with confidence.
Comparing mould removal quotes
Prices vary because mould work can include several different trades: leak detection, plumbing, roofing, damp proofing, cleaning, drying, demolition, painting and carpentry. A low quote that covers only cleaning may not solve the cause. A higher quote may include repairs and replacement materials that prevent repeat damage.
When comparing up to three quotes, ask each contractor what they believe is causing the mould, what is included in the removal work and whether damaged materials need replacing. Check whether drying, disposal, repairs, repainting and a follow-up inspection are included or priced separately. It is also worth asking how they will protect unaffected rooms and how long the area should remain unused.
Provide clear photos, the room location, when the problem started and whether it worsens after rain, showers or plumbing use. This helps local contractors give a more accurate initial response. For hidden damp or extensive damage, expect a site inspection before a final price is confirmed.
Prevent mould from returning
The final part of the mould removal process is prevention: keeping the area dry, improving ventilation where needed and repairing leaks or building defects before mould has a chance to return.
Prevention usually comes down to managing water quickly and allowing rooms to dry properly. Repair leaks without delay, clean gutters before heavy rain, dry wet floors and fabrics, and avoid pushing large furniture tightly against cold exterior walls. In bathrooms, run extraction during and after showers where possible, and deal with failed grout or sealant before water reaches the wall behind it.
For landlords and property managers, planned inspections of roofs, plumbing, bathrooms and vacant units can catch small problems before they become costly reinstatement work. Tenants can help by reporting damp smells, stains and recurring condensation early rather than waiting for visible mould to spread.
With Profixer, you can post your mould removal or damp-repair job free and connect with local contractors interested in quoting for the work. Include clear photos, the affected rooms, when the problem started, whether it worsens after rain or plumbing use, and any known leaks or ventilation problems so contractors can better understand the likely scope.
The best result is not a wall that merely looks clean for a few days. It is a dry, repaired space that feels healthy to use and stays that way through the next shower, storm or humid spell.
A proper mould removal process should leave you with more than a clean-looking wall. The moisture source should be addressed, affected materials should be properly cleaned or replaced, and the space should be fully dry before restoration. Compare contractors who explain both the cause and the cure rather than simply covering the visible mould.
GET MOULD REMOVAL QUOTES